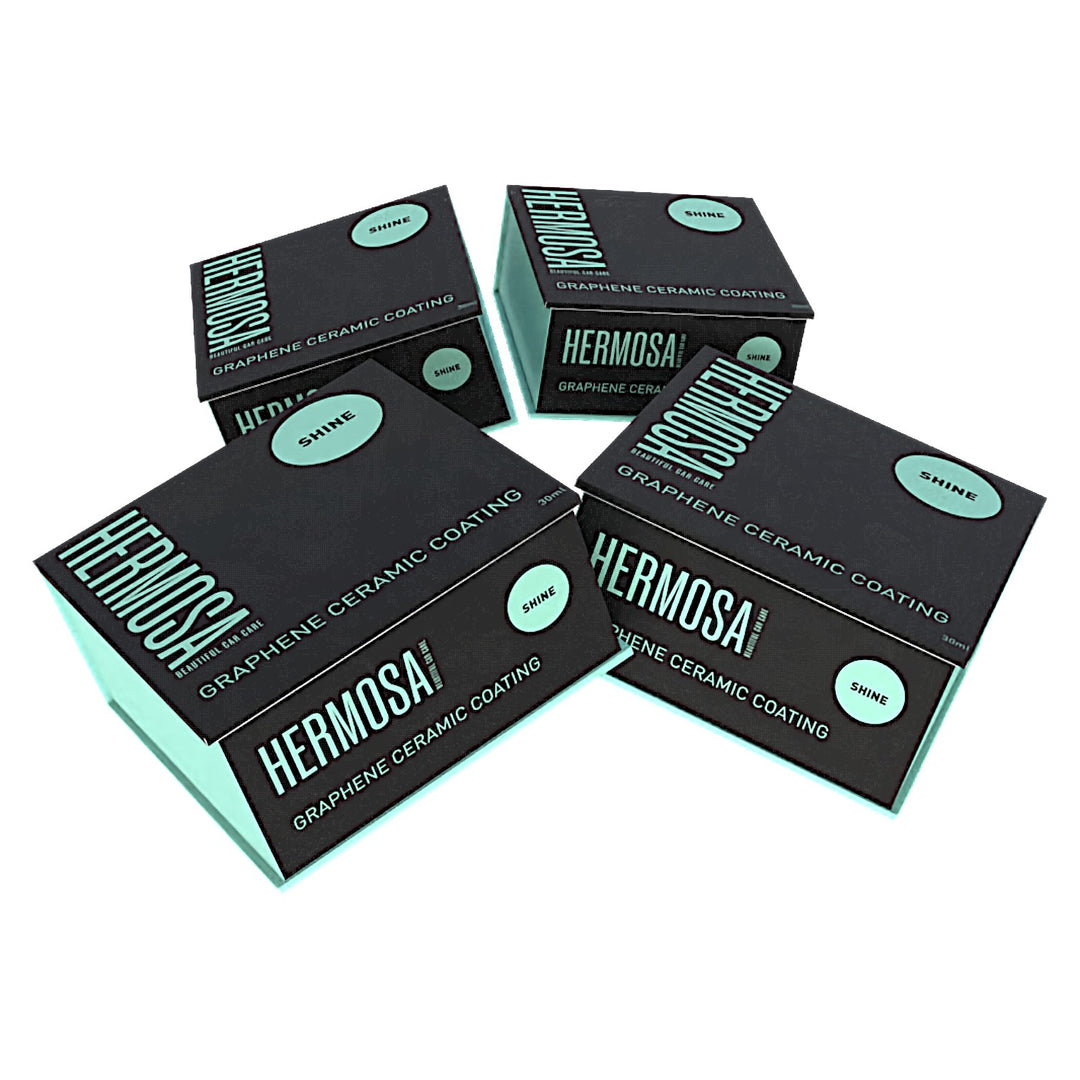


$40.00
$38.00
Impressive
Who's it for?
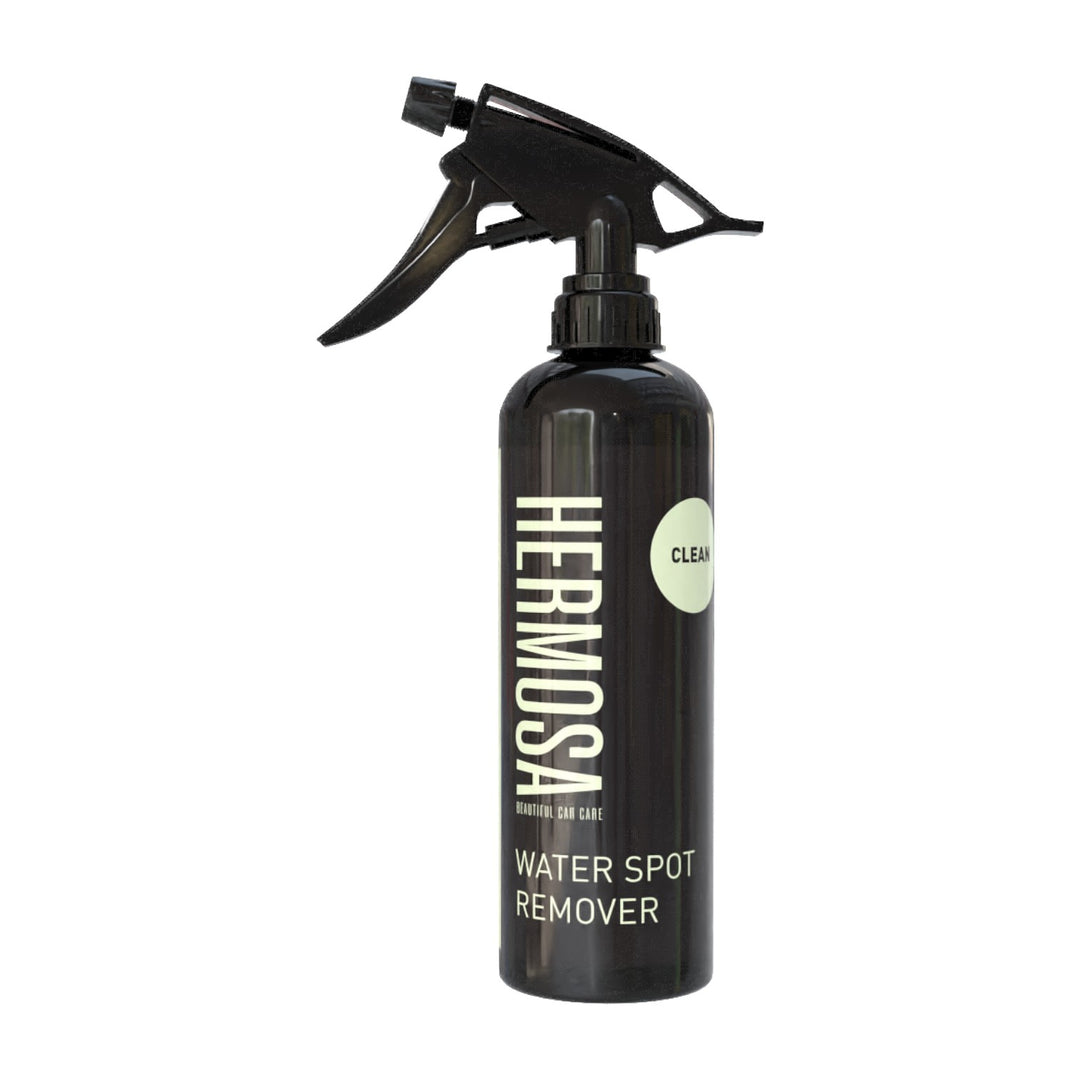
| Feature | Hermosa Water Spot Remover | Typical Water Spot Remover |
|---|---|---|
| Strength | ✔ Pro-grade acid + surfactant formula | ✖ Mild or diluted effectiveness |
| Speed of Removal | ✔ Fast-acting — cuts polishing time | ✖ Often slow and labour-intensive |
| Surface Prep | ✔ Leaves surface ready for coatings/wax | ⚠ May leave residue or need extra cleaning |
| Multi-Surface Use | ✔ Paint, glass, chrome, metal, shower glass | ⚠ Often glass-only |
| Residue-Free Finish | ✔ Yes – evaporates clean, no rinsing needed | ✖ Often leaves streaks or requires follow-up |
| Used by Detailers | ✔ Yes on 100+ cars / week | ✖ Rarely seen in pro setups |
This was so easy to apply and work with left the paint feeling soft and the hydro-phobics were exceptional, the best spray on wipe off sealant I have used!
Works great , smells great , bang for your buck
Great kit with all I needed for a first time ceramic user. Went well very pleased
After putting this tyre shine on my tyres it did as expected and after 2 weeks, the wet look has held up. I very much recommend this product
use this product all the time amazing results
Awesome product, keeps the windscreen crystal clear and rain beads with minimal use of wiper blades.
Super easy to apply. Puts a whole new depth to the color. Great product
Fantastic affordable products that just work
I'm not a big car wash person, but using Hermosa was so easy. I just washed the Cayenne with the Ceramic Shampoo and the water started beading off right away. So easy to use and so shiny!
This would have to be the best product I have ever used.
I’m a passionate car enthusiast who has been looking for a product like this for years.👍
Perfect for that gorgeous showroom shine!
No!
It’s safe for all paint finishes, glass, chrome, and coated surfaces. It removes water spots without stripping wax, sealants, or ceramic coatings.
Yes!
Hard water spots on glass can distort visibility, especially at night or in the rain. Hermosa Water Spot Remover restores crystal-clear clarity for safer driving.
Yes!
For tougher, long-standing water stains, a second application or light agitation with a soft applicator pad can help break them down completely.
Use as needed—after washing, exposure to hard water, or whenever water spots appear. Regular use helps maintain a flawless finish and prevent buildup.
Start by washing the vehicle or cleaning the surface to remove any loose dirt or contaminants.
Work out of direct sunlight to prevent the product from drying too quickly.
Ensure the surface is cool to the touch.
Put on your gloves and let’s get started!
Moisten a micro-fibre applicator pad with Hermosa Water Spot Remover.
Work on a small area at a time, approximately 50cm x 50cm.
Apply the product to the surface using a cross-hatch pattern to ensure even coverage.
Allow the product to dwell on the surface for up to 30 seconds.
For stubborn, baked-on water spots, work the product into the surface during this time.
Re-clean the treated area with a damp micro-fibre cloth to neutralise the reaction and remove any excess product.
Repeat the process for older or more stubborn water spots, allowing a 30-second dwell time for each application.
After water spots are removed, seal the surface with a wax or sealant to protect it from future contamination.
Always test the product on a small, inconspicuous area before full application.
Work on one section at a time for better control and effectiveness.
Avoid letting the product dry on the surface.
Store the product in a cool, dry place away from direct sunlight.