


$341.00
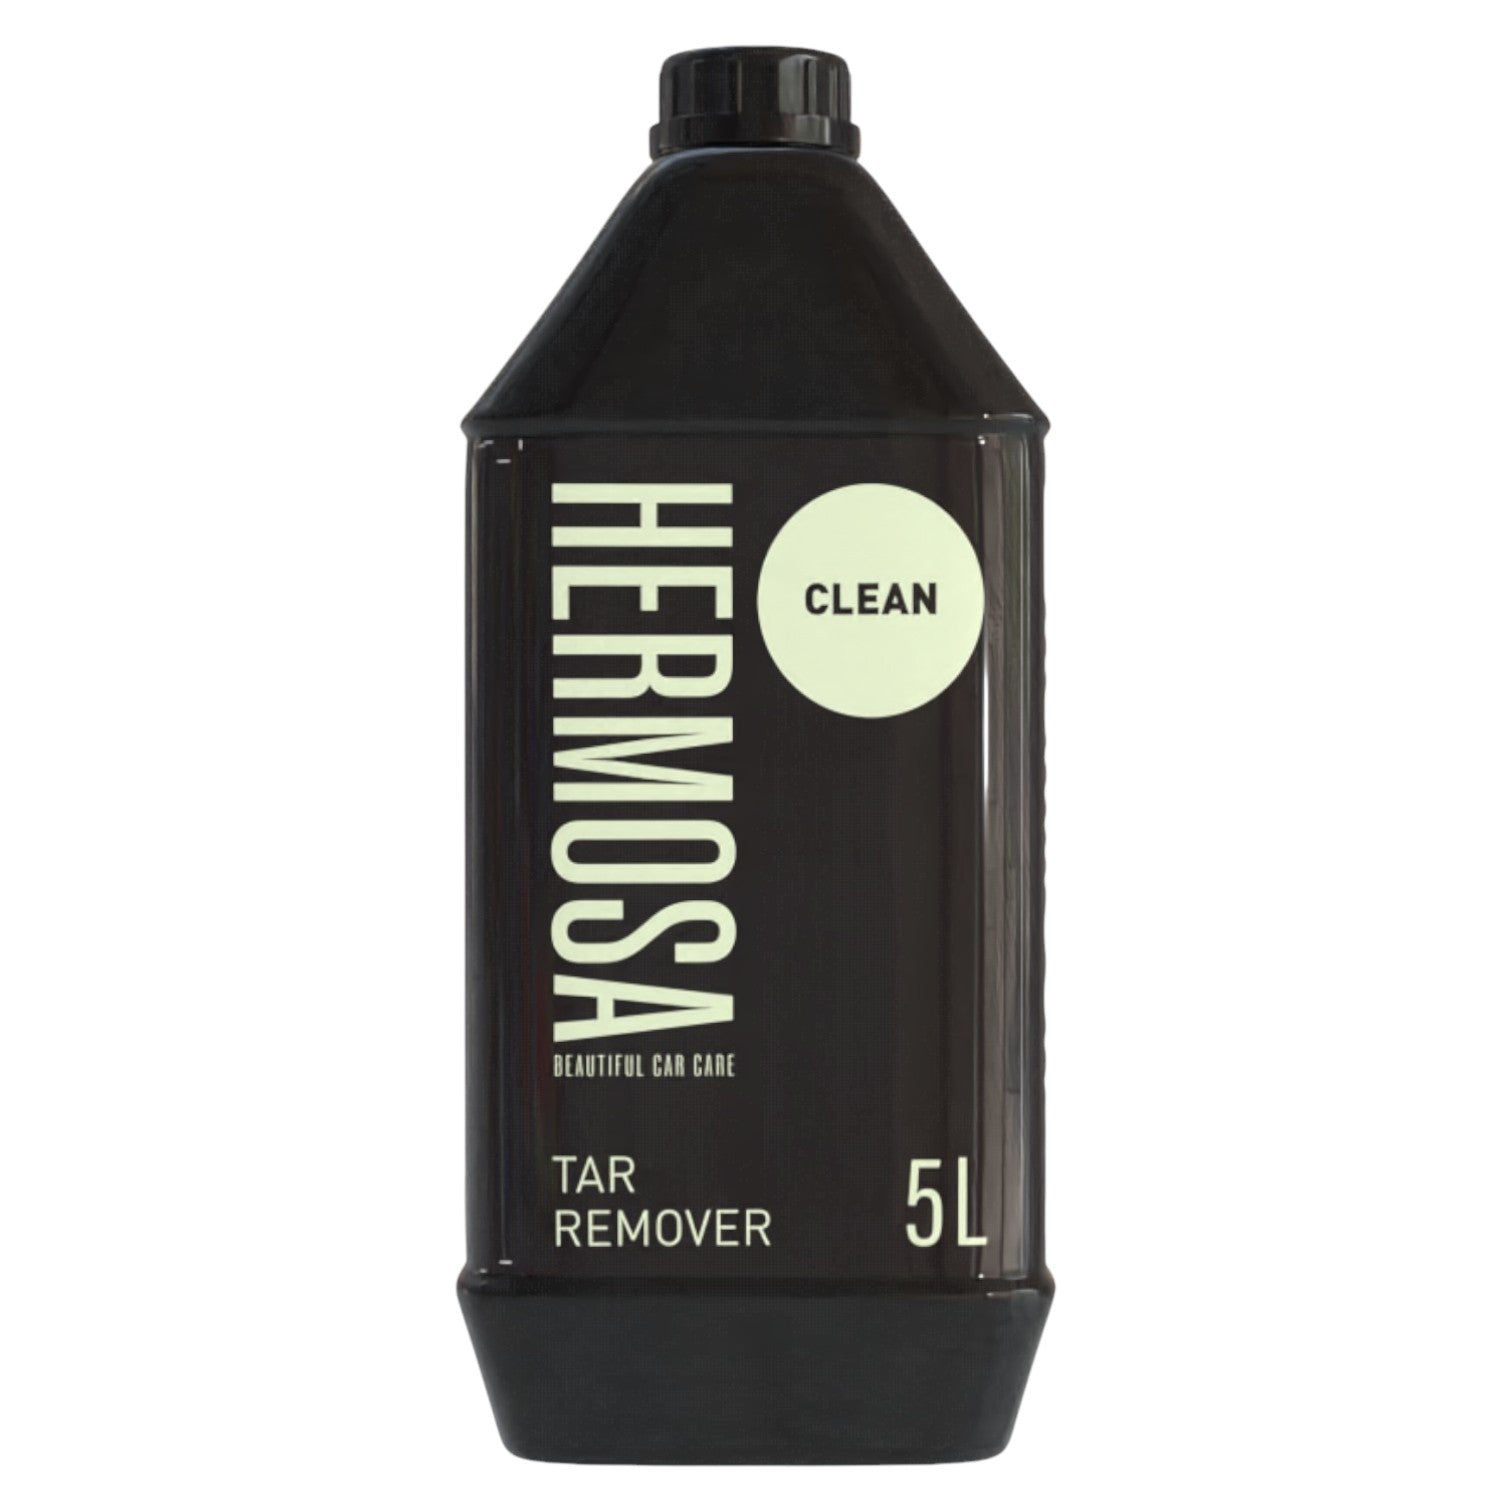
Here’s how we compare with your average Tar Remover.
| Feature | Hermosa Tar Remover | Standard Tar Removers |
|---|---|---|
| Breaks down tar & rubber | ✔ Fast, powerful solvent action | ✖ Often requires heavy scrubbing |
| Safe on paint and clear coat | ✔ No damage to wax or paint | ⚠ Risk of surface damage |
| Fast & easy to use | ✔ Spray, wait, and wipe off | ✖ Time-consuming and messy |
| Professional-grade solvents | ✔ Contains Xylene & D60 | ✖ Often low-grade chemicals |
Who's it for?
Fantastic results, the real test is if it will withhold it for 5 years
Had the best customer service and advising me of the correct products to use to help protect my new wheels.
The ceramic coating has worked dreams on my wheels and makes if easy to keep them clean.
As a detailer amazing product and definitely gonna be incorporated into ATK Detailing!
Love this stuff, easy to use can't get pinged by council for washing on the driveway....
It is so good my friends are using it now mine so it won’t last long
Great value, great product and great results. Time will tell how out lasts but super stoked at the results
Happy with it’s result
Used Hermosa’s Ceramic Coating on my last couple of Ceramic Jobs, I went all in. The ease of application, stunning shine, effortless wipe off, cant fault it.
This will be my go to for all my ceramic jobs.
you wont find a better product dose exactly what it says
Easy to use, even though I'd never done anything like that before. Car is so easy to clean now.
The best service we've experienced in all our interactions always fast and responsive with genuine care for the customer
Our step-by-step user guides include everything you need for a perfect finish — every time.
Yes, it is specially formulated to break down tar and rubber without damaging paint, clear coats, or wax layers.
Simply spray the affected area, wait a few moments for the solvents to work, then wipe clean. No heavy scrubbing required.
Yes, it’s safe on most exterior surfaces including plastic trims and wheels, but avoid prolonged contact with sensitive materials.
The powerful solvents act within seconds, making tar removal fast and effortless.
Absolutely. Hermosa Tar Remover contains professional-grade solvents like Xylene and D60 for effective results on demanding jobs.
Ensure the car’s surface is clean and dry before applying Hermosa Tar Remover.
If the car's body is hot (from being in the sun or recently driven), cool it down with water until it reaches room temperature.
Put on your gloves and let’s get started!
Spray Hermosa Tar Remover directly onto the affected area where tar, gum, or other stubborn contamination is present.
Let the product sit for 1 to 3 minutes to dissolve the tar and contaminants.
Using a clean, soft micro-fibre cloth, gently wipe away the dissolved tar or debris.
For heavily contaminated areas, repeat the process as needed.
Rinse the treated area thoroughly with water to remove any residue.
Wipe the area dry with a clean towel or chamois leather for a streak-free finish.


